Thinking about listing your Hoover home and want photos that stop the scroll? You are not alone. Most buyers start online, and your first impression is made in seconds. With a smart staging plan and the right photo prep, you can spark more clicks, more showings, and stronger offers. This guide gives you a Hoover-specific, step-by-step plan you can follow with confidence. Let’s dive in.
Why photos drive Hoover results
Strong photos help buyers picture daily life the moment they see your listing. In Hoover, families, move-up buyers, and empty nesters often prioritize spaces that feel clean, bright, and move-in ready. When your photos tell a clear story of space, flow, and lifestyle, you earn more showings and better in-person first impressions.
What buyers expect in Hoover
- A tidy, inviting front exterior that looks cared for.
- A kitchen that feels open and easy to maintain.
- A comfortable main living area that shows flow to dining or kitchen.
- A calm primary suite and crisp, clean bathrooms.
- Outdoor living that fits Hoover’s porch-and-patio lifestyle.
Climate and curb appeal in Alabama
Hoover’s hot, humid summers and mild winters shape how your home looks outside. Pollen can coat porches and siding in early spring, and humidity can leave algae on hard surfaces. Plan a thorough exterior clean, fresh mulch, trimmed hedges, and healthy potted plants to keep your curb appeal photo-ready.
Photo-first staging priorities
Focus your time and budget where it matters most for photos:
- Front exterior and entry. This is often your lead thumbnail and first impression.
- Kitchen. Buyers study counters, cabinets, and lighting.
- Main living room. Show layout and flow to key rooms.
- Primary suite. Keep it calm and hotel-clean.
- Outdoor spaces. Porches, patios, and fenced yards are big in Hoover.
- Value rooms. Finished basements, home offices, or updated baths.
Lighting and shoot timing
Best times for interiors
- Shoot mid-day when natural light is soft and abundant.
- Open blinds and curtains. Clean windows for clarity.
- Turn on every light and match bulb color for warm, consistent tones.
Best times for exteriors
- Early morning or late afternoon gives even light and a pleasing sky.
- Twilight shots can add emotional appeal on higher-end homes.
- Move vehicles off the driveway and hide trash bins from view.
Pro photography and tours
Use a real estate photographer who knows wide-angle composition and HDR. Ask for a mix of wide shots for flow and close-ups for finishes. Consider a floor plan and a 3D tour for higher engagement. These tools help out-of-area buyers picture the layout before they visit.
Room-by-room staging
Entry and front exterior
- Clean the front door and hardware. Add a simple doormat.
- Sweep the porch and pressure-wash if needed, especially after pollen.
- Add two neat potted plants. Remove seasonal clutter.
Photos to capture: a straight-on hero shot, a walkway approach, and a detail of the door.
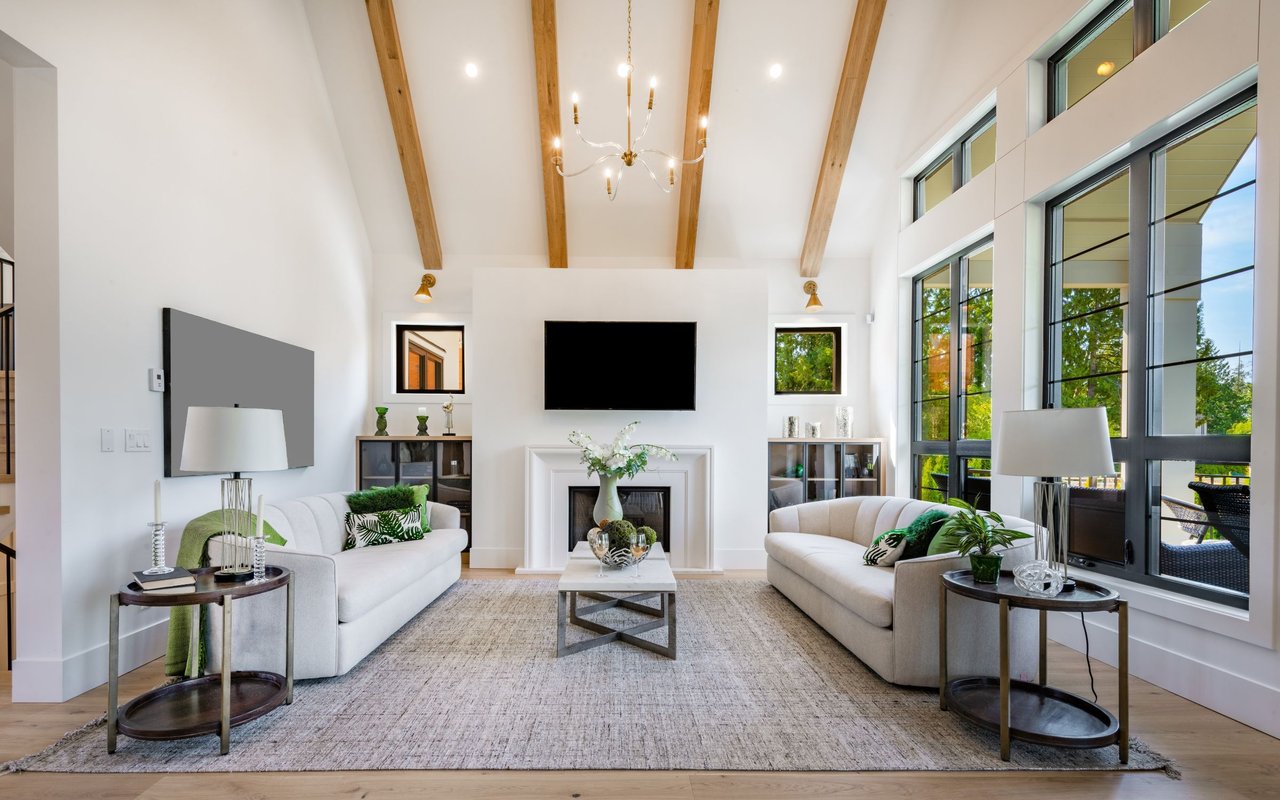
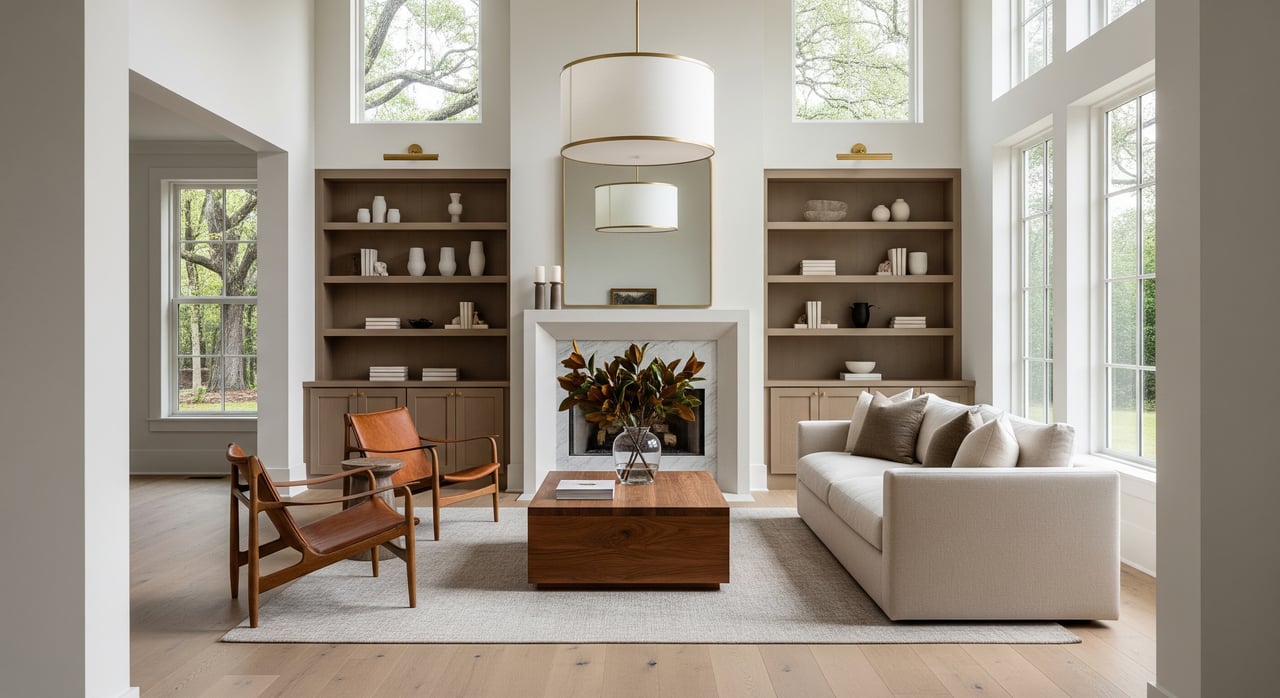
Living and family room
- Center furniture on the focal point, like a fireplace or built-ins.
- Remove excess pieces to open pathways. Keep accessories minimal.
- Add a neutral rug and 1 to 2 pillows for softness.
Photos to capture: a wide shot that shows flow to dining and kitchen, plus a detail of any architectural trim.
Kitchen
- Clear counters completely except one or two curated items, like a fruit bowl or small plant.
- Hide small appliances, trash cans, and dish racks. Empty the sink.
- Replace dish towels with neutral ones and clean inside appliances.
Photos to capture: wide angles from each corner showing the island or breakfast area, then details of countertops, cabinetry, and fixtures.
Dining room
- Center the table on the light fixture. Space chairs evenly.
- Set a very simple table: placemats and a single centerpiece.
- Remove large hutches if they crowd the room.
Photos to capture: a centered view of the table and an angle that shows flow from dining to kitchen or living.
Primary suite
- Use calm, neutral bedding. Clear nightstands except for a lamp and one object.
- Declutter closets so buyers sense ample storage.
- Hide cords and remove personal photos.
Photos to capture: a wide angle of the bed and entry, plus a closet only if it adds clear value.
Bathrooms
- Deep clean grout, glass, and fixtures until they sparkle.
- Remove all toiletries and floor mats. Fold two fresh towels.
- Add a small plant or candle as a single accent.
Photos to capture: a wide shot showing the vanity and shower or tub, then close-ups of updated tile or fixtures.
Home office or flex spaces
- Stage for one clear use, like an office or playroom.
- Keep surfaces tidy with one plant or lamp.
- Remove bulky storage so the space feels larger.
Photos to capture: a wide shot that shows function and natural light.
Laundry, mudroom, and garage
- Clear floors and shelving. Box and label items neatly.
- Remove trash and oversized bins for photos.
- Wipe appliances and walls.
Photos to capture: a simple wide shot that shows storage potential.
Outdoor living
- Sweep patios and decks. Arrange furniture in conversation groups.
- Add fresh cushions if you have them and a few potted plants.
- Clean grills and stage the area to feel like an extension of living space.
Photos to capture: a wide shot that shows yard lines and usable space. Consider a twilight exterior to highlight lighting and ambiance.
Hoover-friendly shot list
- Hero image: front exterior or the most marketable interior space.
- Kitchen: wide angles and a detail of finishes.
- Main living: one wide shot that shows flow.
- Primary suite and primary bath.
- Outdoor living and backyard.
- Secondary rooms and any flex or office space.
- Specialty areas: finished basement, workshop, or storage.
- Neighborhood context: only include amenities like nearby parks, the Riverchase Galleria area, or community features if you have permission and accurate proximity.
48-hour photo prep checklist
- Deep clean kitchen, living areas, and baths. Shine appliances and fixtures.
- Declutter counters, shelves, and visible storage.
- Make all beds and remove personal photos.
- Clean windows. Open blinds and replace burned-out bulbs with matched bulbs.
- Remove cars from the driveway and hide trash and recycling bins.
- Sweep and, if needed, power-wash porch and walkway. Add seasonal potted plants.
- Hide pet bowls, beds, and litter. Secure animals off-site for photos.
Showing-day quick checklist
- Turn on all lights and open blinds and curtains.
- Set the thermostat to a comfortable temperature for Hoover’s heat.
- Put away dishes and trash. Wipe kitchen and bath surfaces.
- Make beds and do a fast floor sweep or vacuum.
- Secure valuables and private documents.
- Tidy the yard, sweep the porch, and pick up toys.
Timeline and budget
2 to 4 weeks out
- Handle repairs, paint touch-ups, roof and gutter checks, and HVAC service if needed.
- Power-wash exteriors and schedule landscaping help if required.
- Decide on staging scope: DIY, partial, or professional for key rooms.
7 to 10 days out
- Deep clean every room. Declutter and store extra furniture.
- Neutralize bold wall colors in high-visibility spaces.
- Buy a few high-impact items like towels, pillows, and a simple rug.
1 to 3 days out
- Final staging. Make beds, clear fridge doors, and hide pet gear.
- Confirm your photographer and walk through the shot list together.
Day of photos
- Leave during the shoot. Turn on lights in every room.
- Remove vehicles and bins. Tidy the yard and porches.
Ongoing showings
- Keep the home close to photo-ready. Create a 15-minute reset routine for lights, beds, and counters.
Budget priorities
- High return, low cost: deep cleaning, decluttering, paint touch-ups, lighting consistency, and fresh mulch.
- Medium cost: partial professional staging for kitchen, living, and primary, plus pro photography and a virtual tour.
- Higher cost: full staging for vacant homes or selective updates. Only proceed if comparable sales support a clear return.
Compliance and logistics
MLS and virtual staging rules
If you use virtual staging for a vacant home, label photos as digitally staged where required by your MLS or listing portals. Do not edit images in a way that misrepresents the property or adds features that do not exist.
HOA and signage
Many Hoover communities have HOA guidelines for signs, open houses, and lockboxes. Check your HOA rules before scheduling events or installing signage.
Disclosures and privacy
Follow local disclosure practices and consult your listing agent on forms. Avoid photographing neighbors’ properties without permission, and use only amenity photos that accurately represent distance and access.
Small homes and condos
- Use mirrors to reflect light and increase perceived space.
- Remove extra furniture so rooms feel open and functional.
- Emphasize storage with neat containers and clear floors.
- Stage small balconies with two chairs and a café table to sell everyday living.
Work with a team that curates presentation
You want every photo to show value and lifestyle, from a spotless kitchen to a welcoming porch. With construction know-how and a white-glove marketing approach, the August Team helps you prioritize the right fixes, stage for impact, and deliver premium photography and tours that speak to Hoover buyers. Ready to craft a listing that stands out online and in person? Connect with the August Team to Schedule a Free Consultation.
FAQs
What rooms should Hoover sellers stage first?
- Start with the front exterior, kitchen, and main living room, then the primary suite and outdoor spaces, since these areas most influence clicks and showing decisions.
How do I handle Hoover’s pollen before photos?
- Pressure-wash or hose off siding, railings, and porches, wipe outdoor furniture, and clean windows the day before photos to prevent yellow film from showing in images.
Is virtual staging acceptable for Hoover MLS listings?
- Yes, virtual staging is often allowed when labeled as digitally staged, but do not alter structural features or misrepresent the property; confirm rules with your MLS before uploading.
When is the best time to photograph my Hoover home’s exterior?
- Early morning or late afternoon offers softer light and better sky color; consider a twilight shot for emotional appeal on homes with attractive exterior lighting.
Do I really need professional photos to sell in Hoover?
- Professional real estate photos typically deliver better exposure, color, and composition, which can increase online engagement and help convert views into in-person showings.